The exterior finish palette for my house is black/graphite aluminum windows, gray barnboard, and oxidized (i.e., rusted) cold-rolled steel. This house, by CLB Architects, basically has the same palette, except that I believe this siding is virgin cedar treated with Lifetime wood treatment.
Exterior, vertical, detail of SW elevation of main house with rusty metal siding, Healy residence/Double J Ranch, Daniel, Wyoming, Carney Architects, Willow Creek Interior Design, On Site Management
I hope to achieve more of a gray weathered look on the vertical siding, probably by using reclaimed barnboard. This house, although it is mostly faced in stone, has some nice gray barnboard as well.
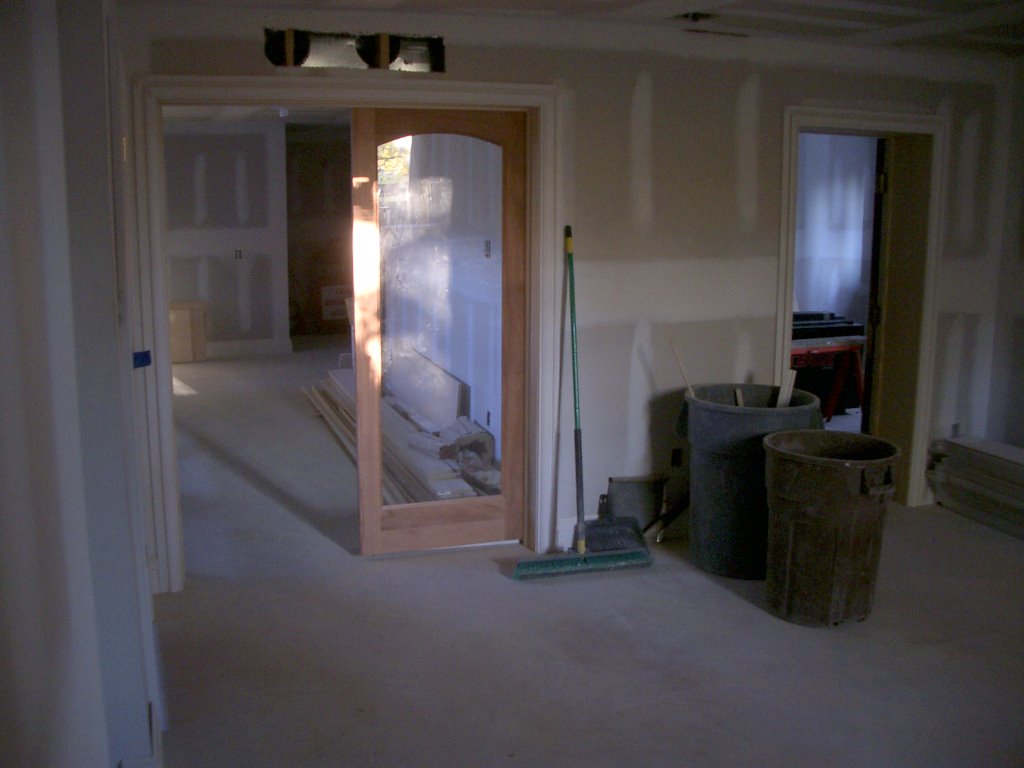
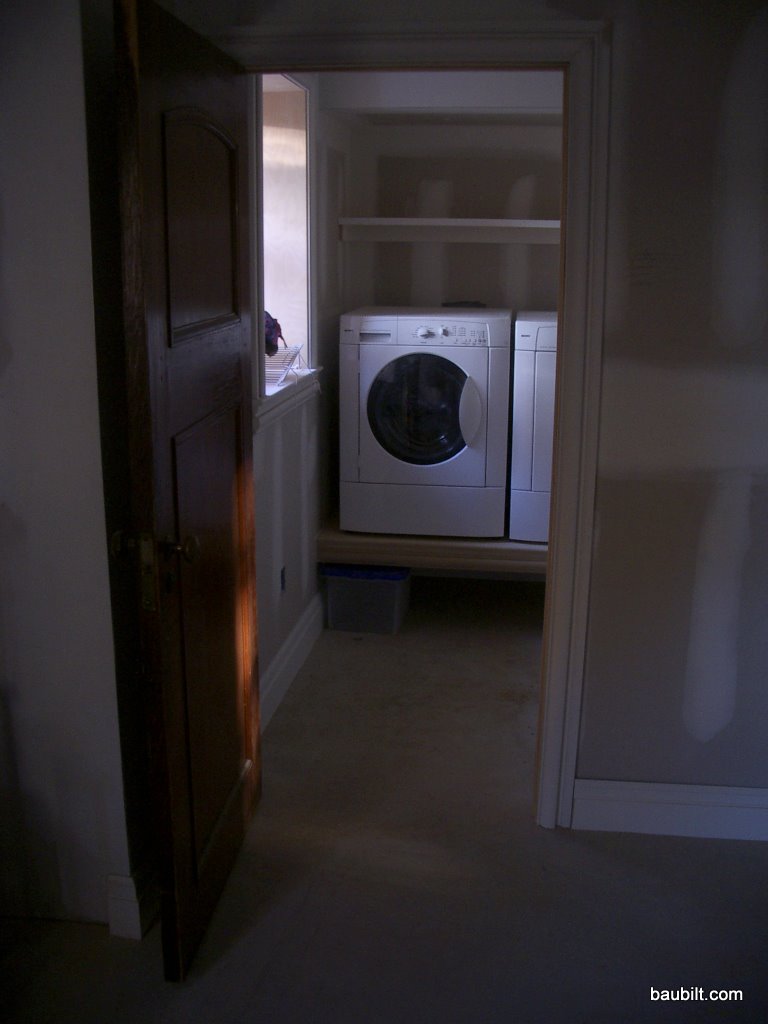
I reclaimed about seven doors from the main level for re-use on the lower level. These are very nice antique doors in oak and mahogany, originally in a hotel, and complete with numbered keys. I had another dozen or so doors custom made to match those antique doors pretty closely. I was very impressed by the prices at Allegheny Wood Works, and I was also happy with the resulting quality. I love that they post their price lists on the web. I ordered some of the doors in paint-grade poplar and some in mahogany to stain to match the antique doors.
For trim, we had the millwork supplier run custom casing and baseboard profiles to match what is upstairs. It’s remarkably inexpensive to do this. I think we paid $1.50 – $3.00 per linear foot for a complex casing milled from poplar. I don’t regret this for a second.
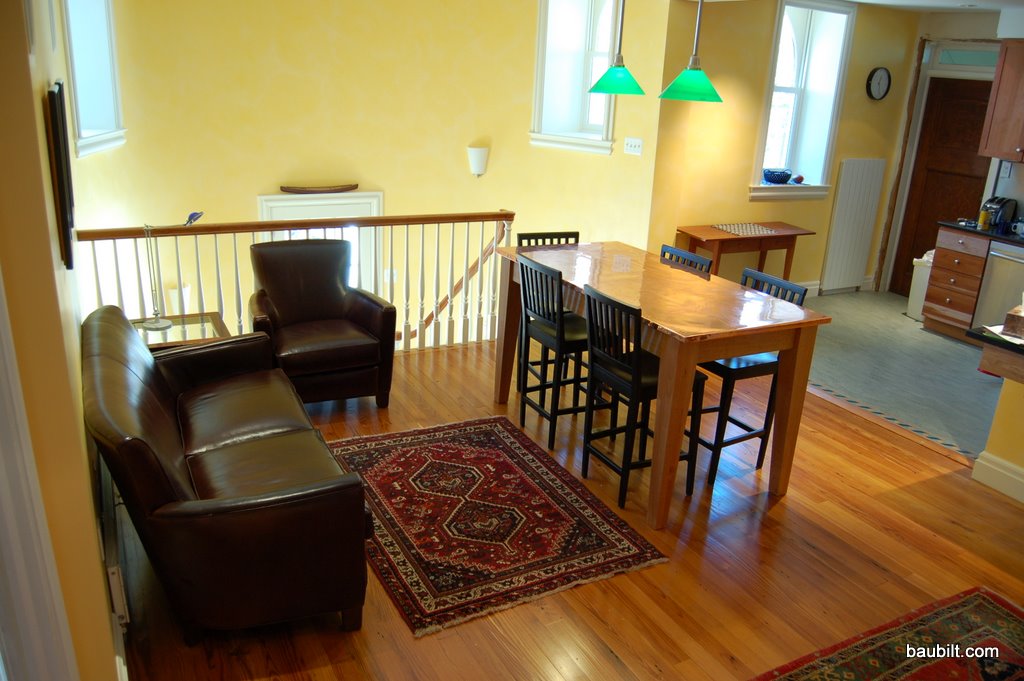
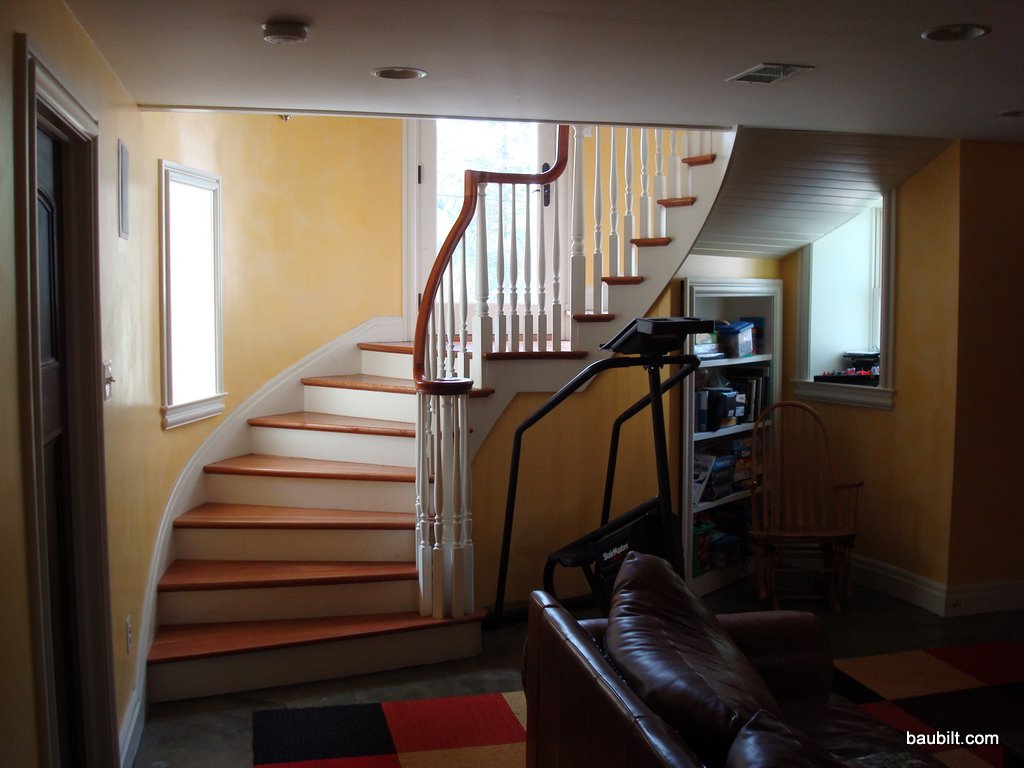
Most of this project focused on the lower level. However, because the spiral stair connected the lower level with the main level, we had to do a fair bit of work in the kitchen/dining area. I had done a “quick and dirty” kitchen renovation a few years ago myself and decided that it was good enough to leave in place. Thus, we mostly confined the main-level effort to the stairwell/apse area and the resulting open dining area adjacent to the kitchen.
I’ll start with how it ended up…and then show some of the steps.
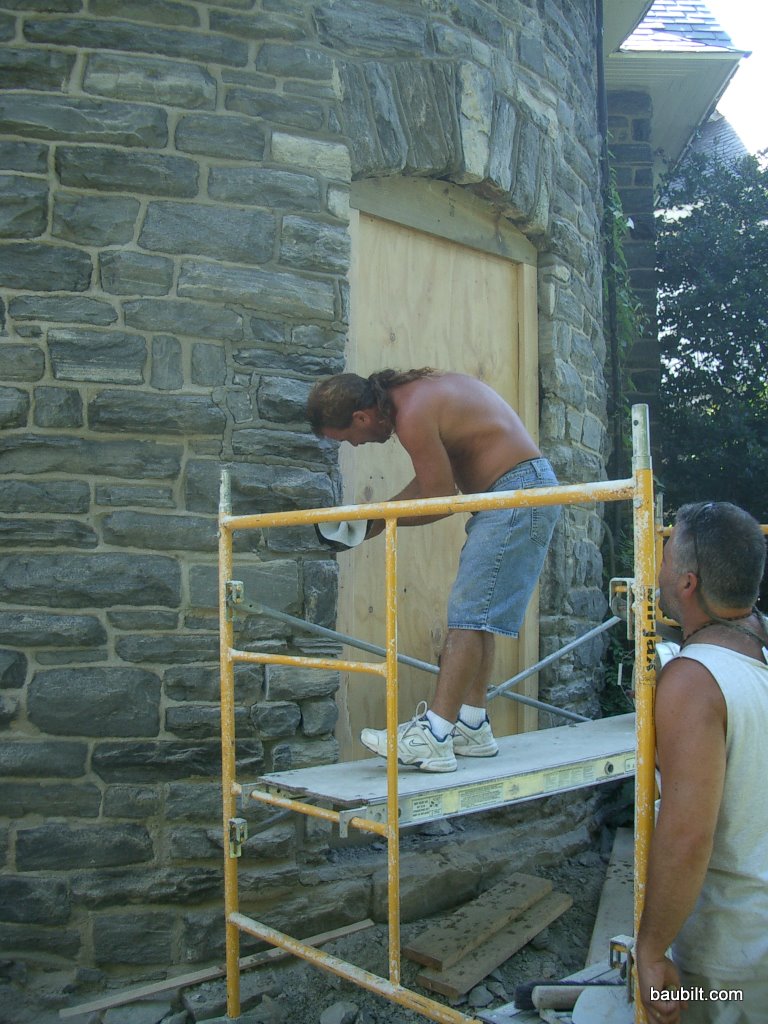
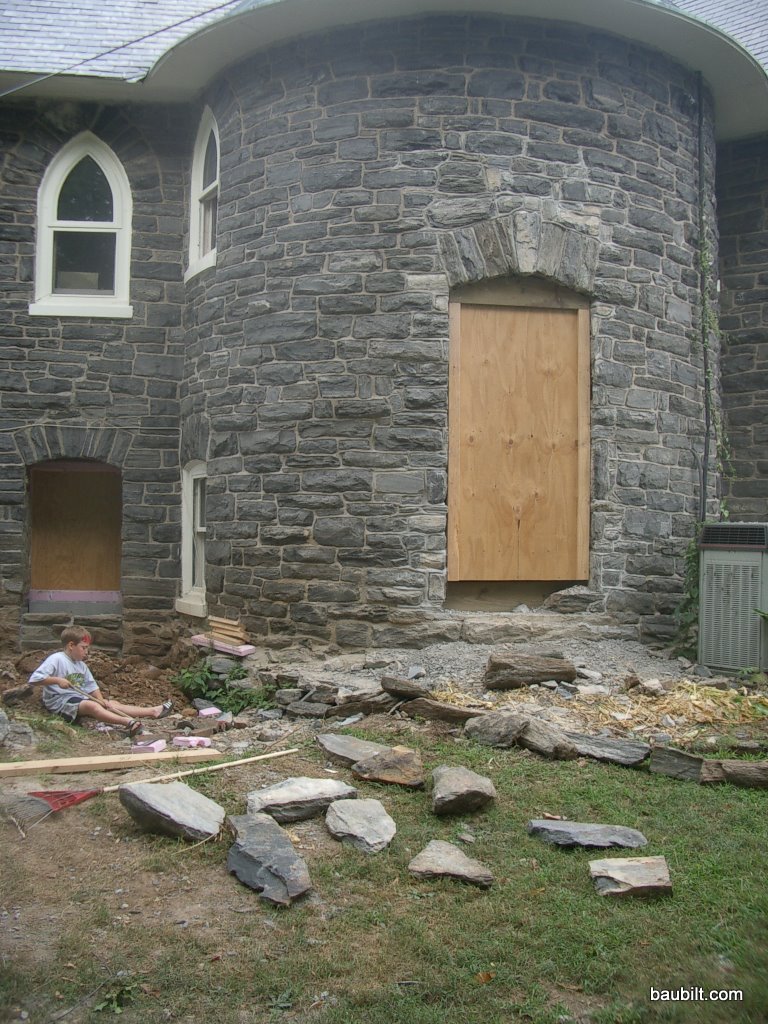
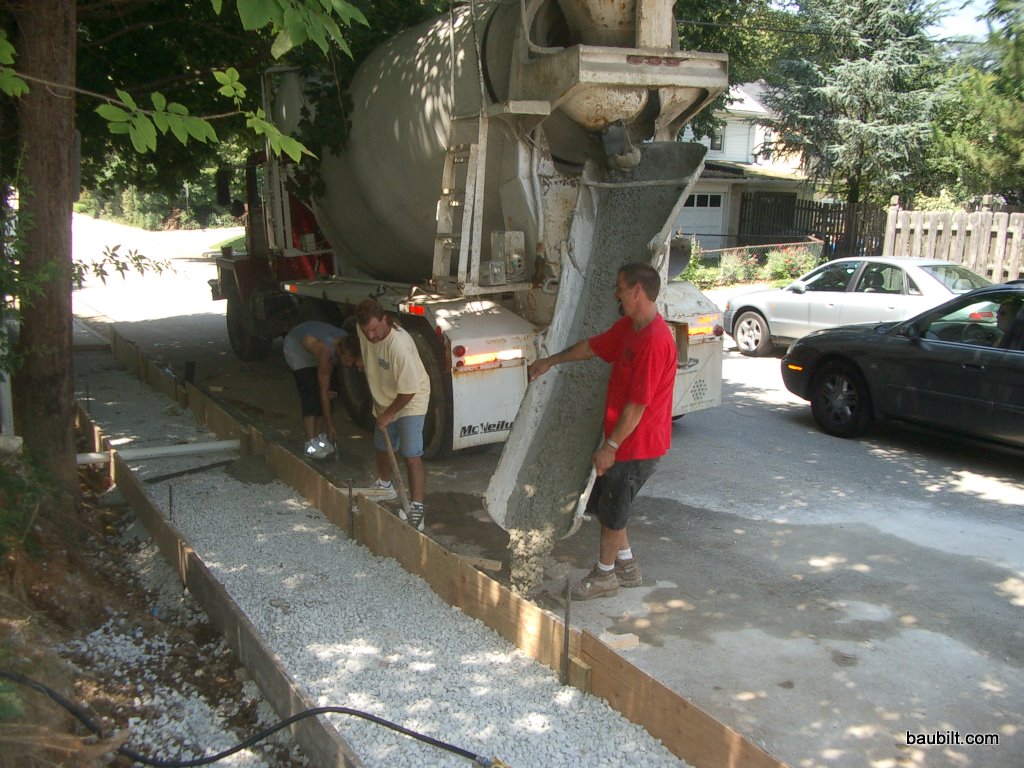
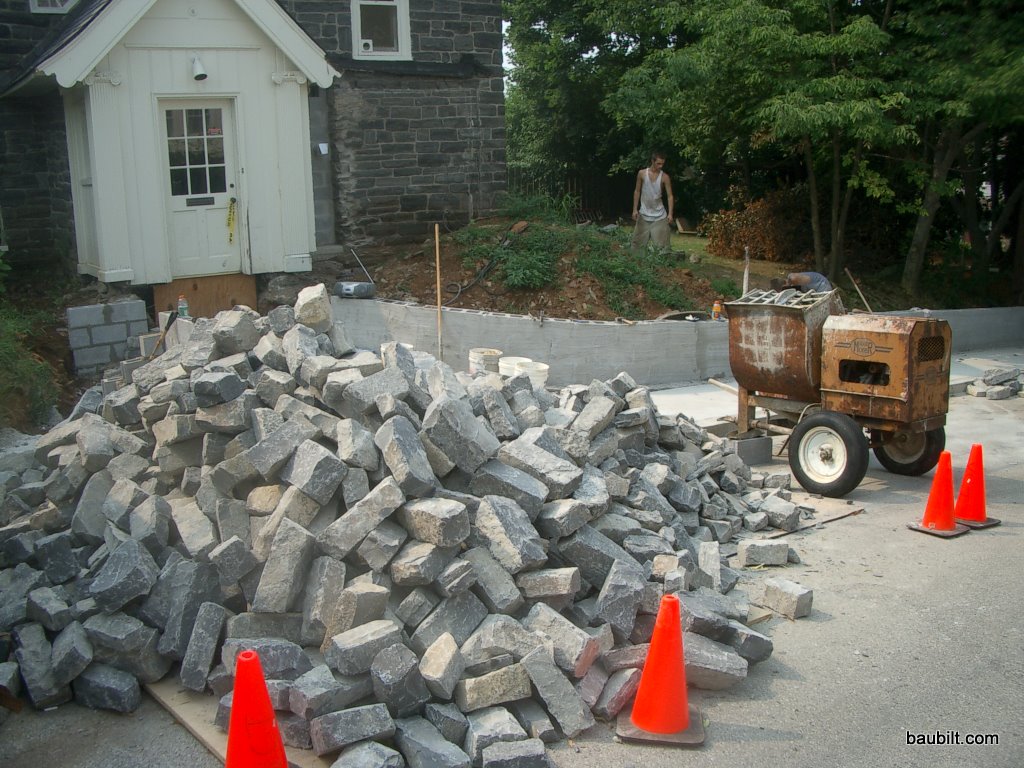
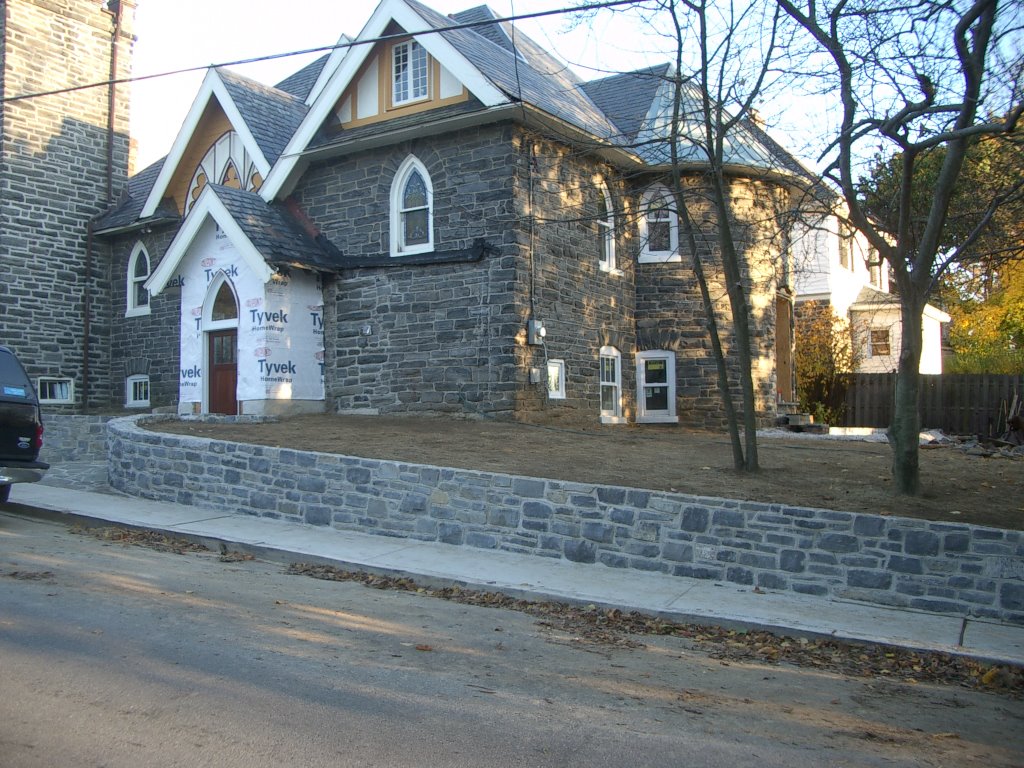
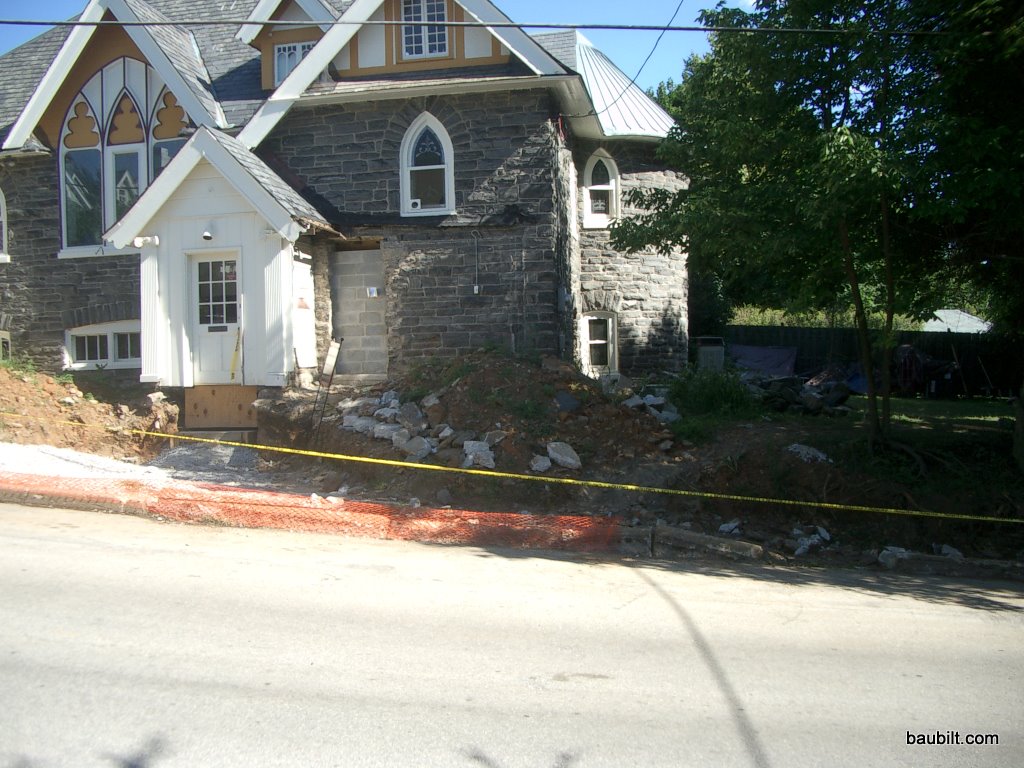
Here are various shots of the exterior masonry work on the Church house. We added a door out through the middle of the apse at the stair landing, which came out great. We also did various patching of holes from relocated windows and doors. A big part of the job was putting in 100 linear feet or so of new stone retaining wall. This substantially improved the look and function of the back yard.
The big idea the architect brought to this project was to put a spiral stair in the apse to connect the main level with the lower level. Furthermore, there would be a door out to the back yard halfway down the stair off of a landing. Here are some shots of how we did that. A custom curved stair manufacturer Stairworks built and installed the basic stair and rail. They did a nice job…actually they did a nice job twice. They messed up a measurement the first time and had to completely rebuild it. To their credit, they didn’t even blink and just did it.
One of the big moves architecturally for this renovation was to excavate the side yard so that the entrance to the lower level could be at the level of the sidewalk. Originally, we had to climb a half dozen steps, traverse a few feet of walkway, and then step down a half dozen steps into the “basement.” It was actually my idea, which the architect liked, to excavate next to the house and make it a straight shot into the lower level from the sidewalk. That worked well; getting in and out of the house is a breeze.
I might have one of the nicest sheds there is, certainly the nicest in my little town.
It was built for me by Gardensheds.com, a one-woman web-based business that contracts with an Amish carpentry outfit to build the sheds and another central-Pennsylvanian guy to deliver them.
Before I invested a lot of money in my lower level with all its new plumbing, I wanted to make sure that the waste line was reliably connected to the municipal sewer. I had replaced some of the sewer main the previous winter and was pretty sure that there was a lot more bad terracotta pipe between the house and the main sewer line. Sure enough, I had the plumber snake the video camera down the line and he declared that the terracotta was basically gone (100+ years old) and that my sewer line was really just a tunnel through the dirt.
Replacing a sewer main is not that big a deal normally. It involves a backhoe, two guys, two days, and a check for $10-15 thousand. You have to reseed your lawn too. Except nothing is normal about my house. Turns out that my sewer main runs 200+ feet down the block under my neighbors sidewalk to the sewer line on the next street down the hill. The plumber said that replacing it would be $20-25k for his part, plus $15k or so to replace the half block of sidewalk and curb that would have to be removed.
After the slab was poured, the guys framed the walls on the lower level. Like most framing, this happened in a snap, maybe two days for two guys. They lay out the walls with a chalk line and crayon on the slab and then frame up the walls.
The only slightly tricky thing was deciding how to insulate. The foundation is rubble stone and while pretty dry, it is prone to weeping once or twice a year. We did install a french drain on the perimeter, just in case, leading to a sump in the mechanical room. That’s been bone dry for five years now. We decided to leave a 1 inch gap between the rubble stone and the walls for ventilation and drainage. The guys did this by framing the walls with conventional 2x4s and then gluing 2″ rigid foam panels to the back of the wall (while still on the floor), taping the seams, and tilting the wall up. They glued the wall down to the slab, fastened the anchor bolts where they existed, and then nailed the top plate of the wall up against the floor joists above. These walls are non-bearing, but they are really solid and well insulated. I had the guys stuff the joist bays above the walls with fiberglass batts as well.
Those I-beams on the floor are for the double-i-beam system I described in the post on steel and stone.
Incidentally, as I write this post, I’m sitting at my desk right against that middle wall. The finished room is shown below.