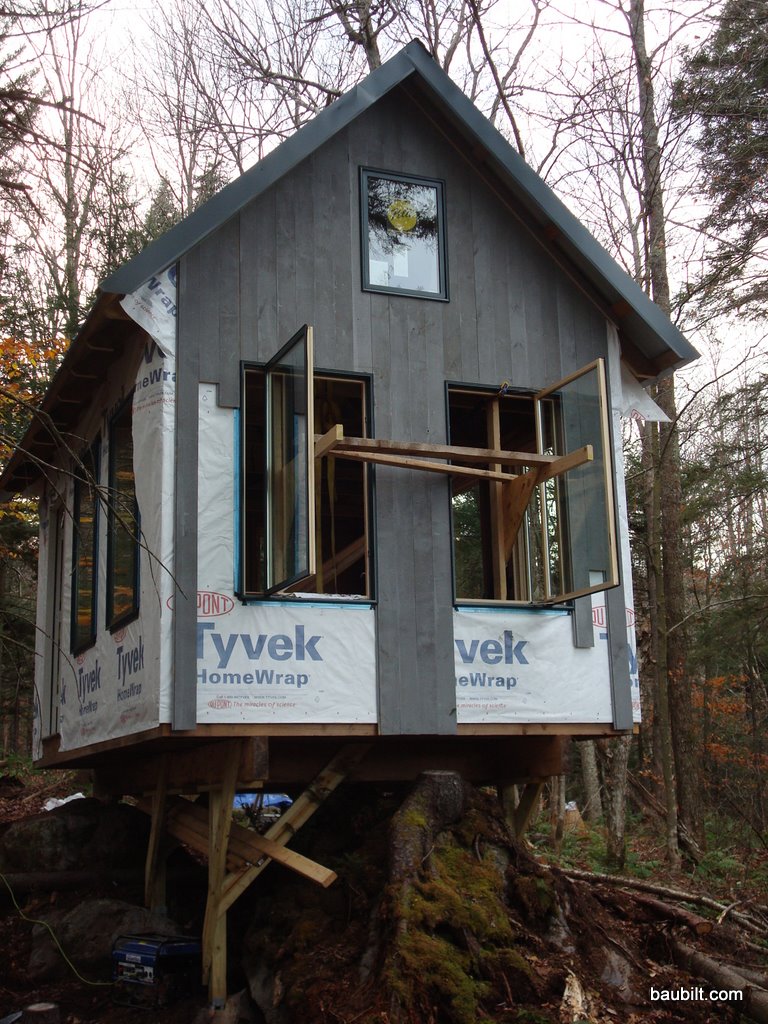
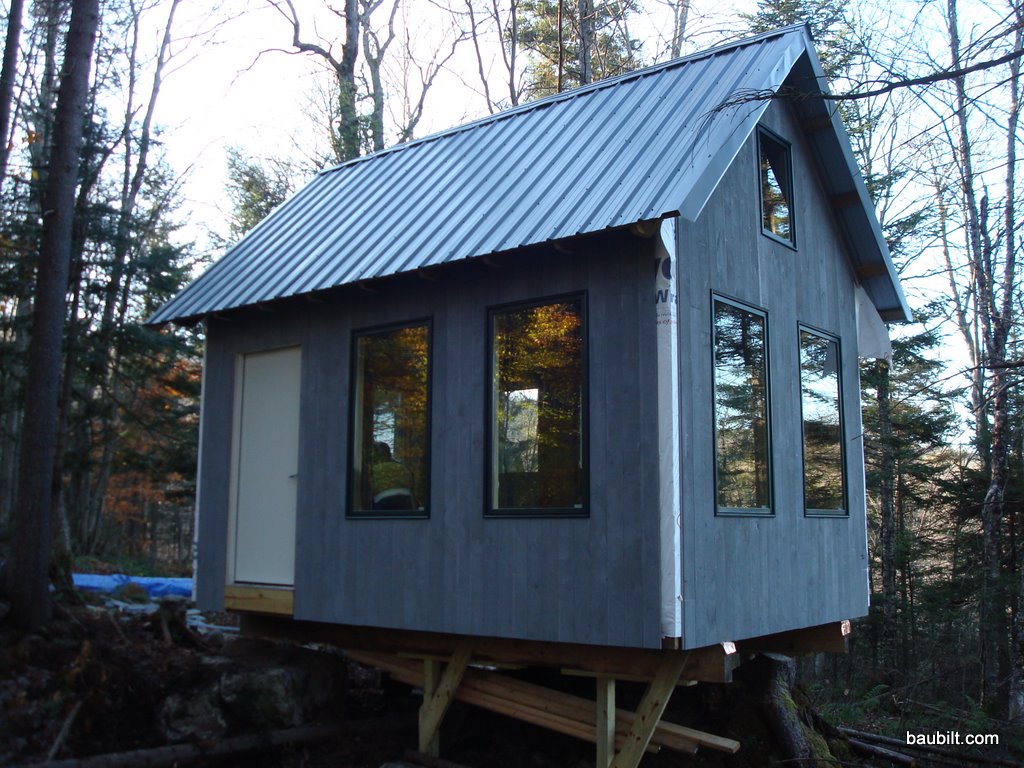
The mini cabin is topped with Fabral painted steel roofing panels. The lumber yard can order this type of roofing in custom colors (Hartford Green in my case). This is a robust, proven roofing solution, and is not very expensive. I’m quite happy with this choice.
My father and I ran purlins (rough-sawn 2x4s perpendicular to the rafters) at the eave, at the ridge, aligned with the side walls, and then spaced evenly (at about 22 inches on centers) from the ridge down. We then screwed the roofing down with 2-1/2 inch galvanized roofing screws with heads painted green to match the roofing. (Fabral sells these with the roofing.) We used a conventional drill/driver with a 1/4 inch hex drive to put these in. Next time I’ll use an impact driver. A few hundred screws are required even for a small roof like mine, and many are driven at odd angles. Your wrists will thank you if you use the impact driver. The link here is to the DeWalt unit I own, mostly because I’ve standardized on the 18V lithium battery pack for my tools and chargers.
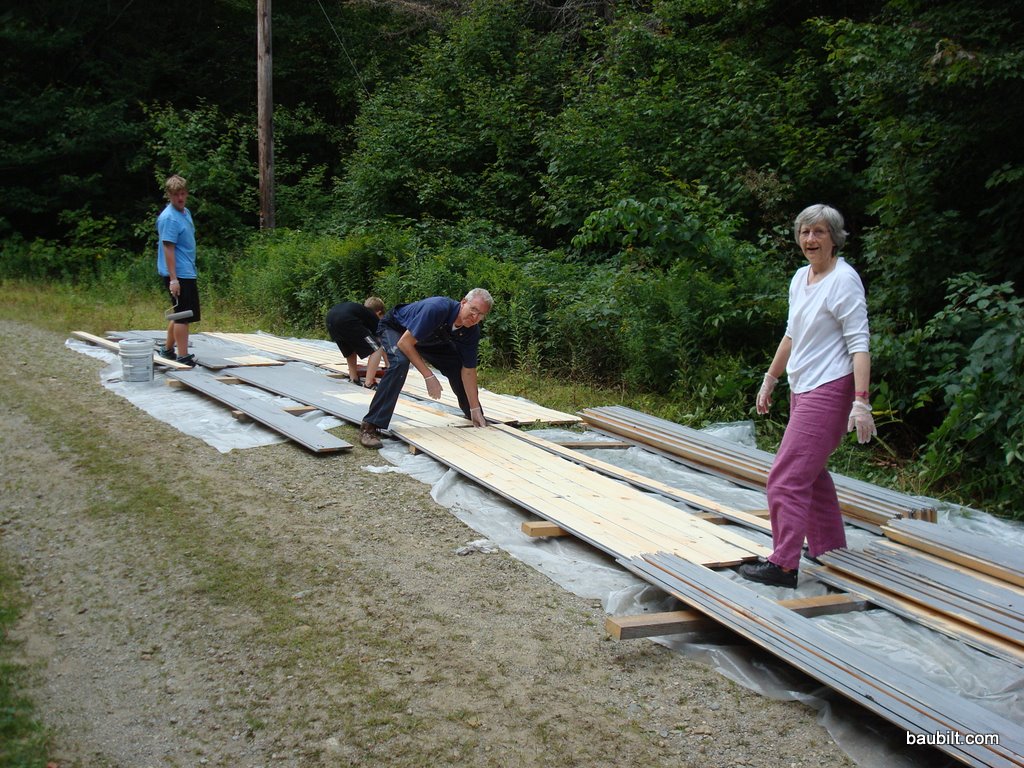
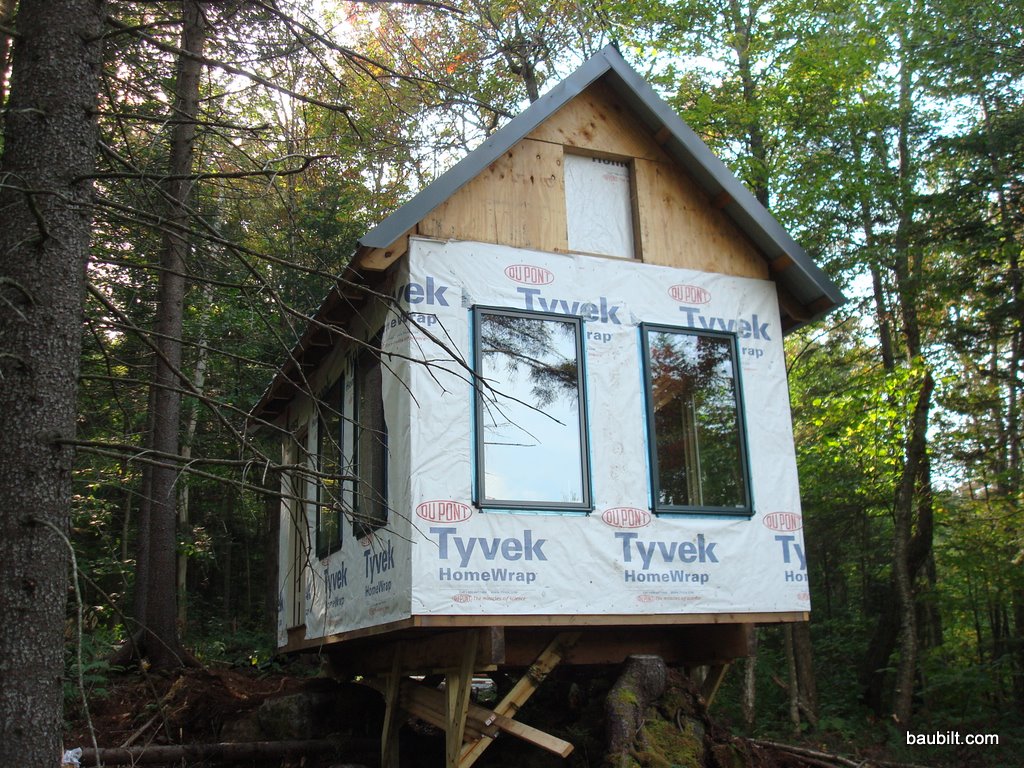
I grew up in a house with gray vertical ship-lap pine siding. Maybe that’s why I chose that siding option for the shed. The siding is often called “rough-sawn pine” but it is actually planed smooth and then wire brushed to make it “uniformly rough” on one side. I pre-stained it on both sides with Behr premium siding stain. By “I” I suppose I mean that my father and mother and two kids stained the siding. This was definitely a task that benefited from a bunch of extra hands. They laid down some plastic sheet on the road and went to town. I remember we were listening to NPR while doing this. This was the morning John McCain announced Sarah Palin for Veep–thus the look on my mother’s face.
This siding is very easy to install. Just cut to length and cut any joints on a 45 degree miter. I ordered the siding from the local saw mill in 10′ lengths, which was longer than almost any vertical dimension on the building. I used 1-1/4″ ring-shanked stainless nails, which held the siding very well but did not protrude through the sheathing to the inside. (I know the nails are long enough because when I had to pry off a piece of siding to correct an error, the nails pulled through the siding…they hold very well in the plywood.) The only slightly tricky thing is getting the siding to come out evenly between windows. I tried to be clever and space the windows exactly an integral number of siding widths apart so that the siding would line up cleanly between windows. Those windows are really hard to locate perfectly, though…so I ended up ripping off 1/16″ from the width of every length of siding that would be installed between windows. (Note how there are exactly four boards between the gable-end windows.) The even layout looks pretty sharp, in my humble opinion, but my perfect plan did require some ad hoc fussing.
One other trick. Don’t try to get the siding to come out even on the bottom edge. Just let it hang a few inches long. Then, when you’re done with the job, snap a chalk line around the skirt and trim with the circular saw. That’s a very satisfying last step, and results in a sharp, clean edge.