Monthly Archives: September 2010

GC’ing the Job

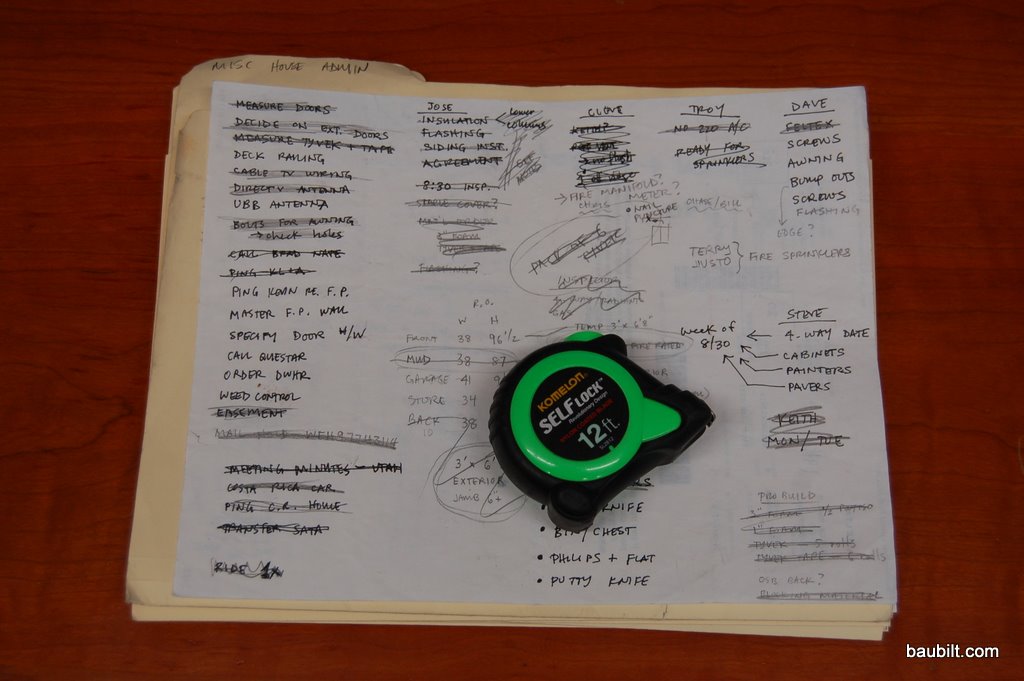
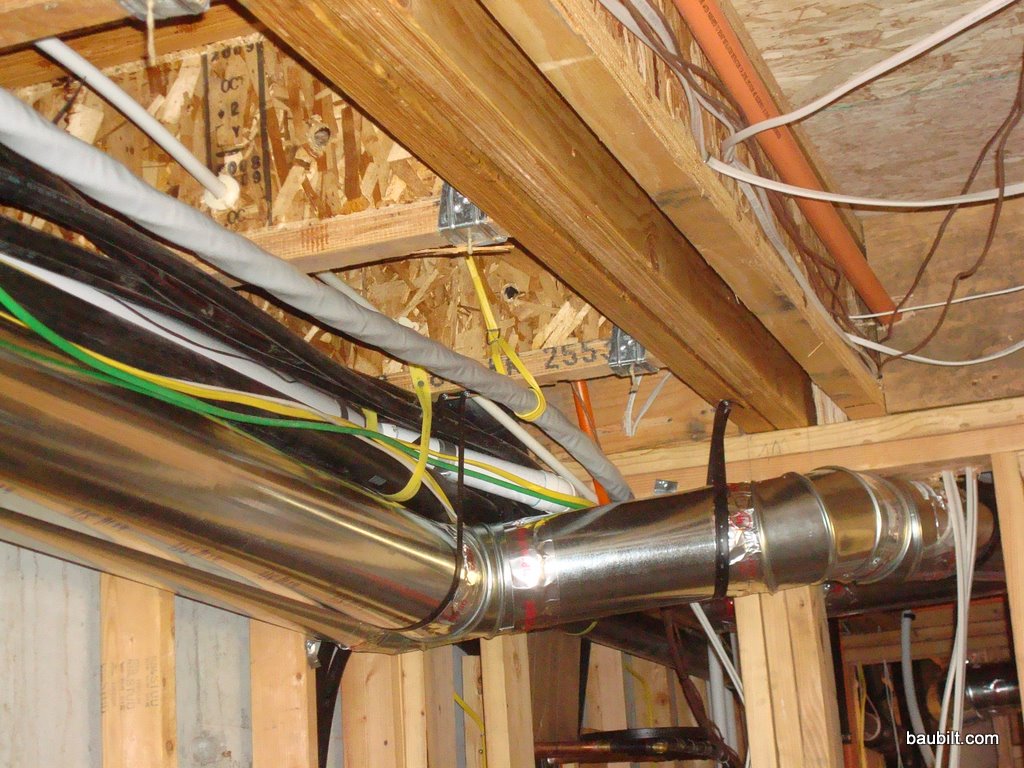
I set up a fairly unusual arrangement for the Park City Modern project. Recall that this is a second home for me, and the distance between home and the job site is 2400 miles, about 7 hours door-to-door via Delta and a rental car. Thus, being on site every day was not feasible.

I visited a construction site with the architects last summer and talked to a contractor they had worked with before. This was a monstrous house , which had been under construction for over 2-1/2 years. It was 15,000 square feet and had a budget of $600/sq-ft. (That’s $9mm in construction cost for those who have a hard time with decimal places.) The GC boasted that the owner had only been on site twice. (Whoa.) I knew precisely then that this guy was not for me. His truck was too nice and his homeowner kiss-up skills were too polished. Those guys serve a very important need…getting a great house built for very rich and very clueless owners.

Continue reading

Front Awning

The house will have an 8-foot-deep nearly flat roof over the terrace. It’s kind of like a store-front awning. The architects designed it to be supported by four tie rods, which gives it a cool look, and avoids using any columns to support the edge of the roof. Of course the problem is that this structure has to be designed to handle all the snow from the roof above landing on it in an avalanche. So, it’s incredibly beefy and ties into big steel columns in the walls. This feature of the house probably cost about $10,000 more than a conventional “porch roof.” Still, I can’t imagine a better use of $10,000 in giving the house a distinctive quality.

Continue reading

Hydronic Heating (“Radiant”)

Yesterday, Chris and Justin from CRS Mechanical started stapling down the 1/2″ diameter PEX tubing that is a key element of the hydronic heating system. The tubing will be embedded in 3″ of concrete, which in my case will form the finished floor. The tubing is stapled down first; then #2 rebar is laid over it; then the concrete is poured. The staple-down phase goes pretty quickly with the right tools (a spindle for uncoiling the tubing so it doesn’t twist, and a pneumatic stapler that has a special nose that centers the staple over the tube.

This kind of heating system is often called “radiant heat.” My college heat transfer professor would roll over in his grave to hear that description. This would better be called “convective heat.” The warm water/glycol solution heats the concrete via forced convection (pumping warm fluid from the boiler) and then the concrete heats the air via natural convection. Very little of the heat transfer is via radiation. Radiation is the transfer of heat via infrared waves, as in what you feel if you put your hand under a heat lamp, or for that matter, the way you are warmed by the sun. The transfer of heat via radiation is minimal at the temperature of the floor in a typical hydronic heating system.

Continue reading

Steel Siding

The roofers have nearly completed the steel siding on the house. I’m very happy with the results. We are using 2′ x 3′ 20 gauge cold-rolled steel flat panels. It is very inexpensive (~$2/sq-ft materials and labor), and I think it looks fantastic. It will rust to a reddish brown when exposed the weather for a few months.

Continue reading

Cedar Shakes and Woodpeckers

On the main cabin we have had woodpecker problems over the years. Apparently the woodpeckers like to nest up high with a vantage point of the meadow. The gable end of the main cabin was perfect and they had made a mess of the tongue-and-groove cedar siding. We had patched with metal, but finally had to take drastic measures. My father-in-law had a guy apply galvanized steel sheet to the walls and then apply cedar shakes over that. This has mostly worked. Occasionally a wood pecker will attack, but after 1/2 inch of progress will give up. So on the pavilion, we’re taking the galvanized-plus-shakes approach from the get go.

Barnboard Siding Installation

Jose and gang started installing barnboard siding this week. It looks excellent. The barnwood comes from Trestlewood. They provided edged wood in random lengths and in widths of 4″, 6″, 8″, and 10″. By taking shorter lengths and a fair bit of narrow material, the material ended up costing just a bit more than virgin cedar siding. (A consistent irony of building green, is that reclaimed materials usually cost more than those cut fresh from the forest.) My cost for the barnwood ended up being about $3/sq-ft delivered, while #3 cedar siding currently costs about $2/SF, but usually requires staining, which would probably be another $1/SF. (You could leave the cedar to weather naturally, though, in which case it would be cheaper.) Incidentally, bids for the installation labor for this kind of board-to-board barnwood in Park City came in pretty consistently around $2.75-$3.00/SF including the labor to apply the Tyvek. This is probably on the low side because I have no window trim to install, although there are some fussy blocking details between the rafter tails.

Continue reading

Traffic Jam in the Joist Bays

We mostly passed our “four way” inspection on Thursday. The four-way includes structure, electrical, mechanical, and plumbing. We were still waiting on some ducting to be finished, but the inspectors were impressed and gave us the go-ahead to insulate.

The traffic in the joist bays has been just awful the past week; a bunch of trades trying to fit conduits of various kinds into too little space between and across the floor joists. The traffic is especially bad just upstream of the mechanical room.

Here are a few pix.

Continue reading