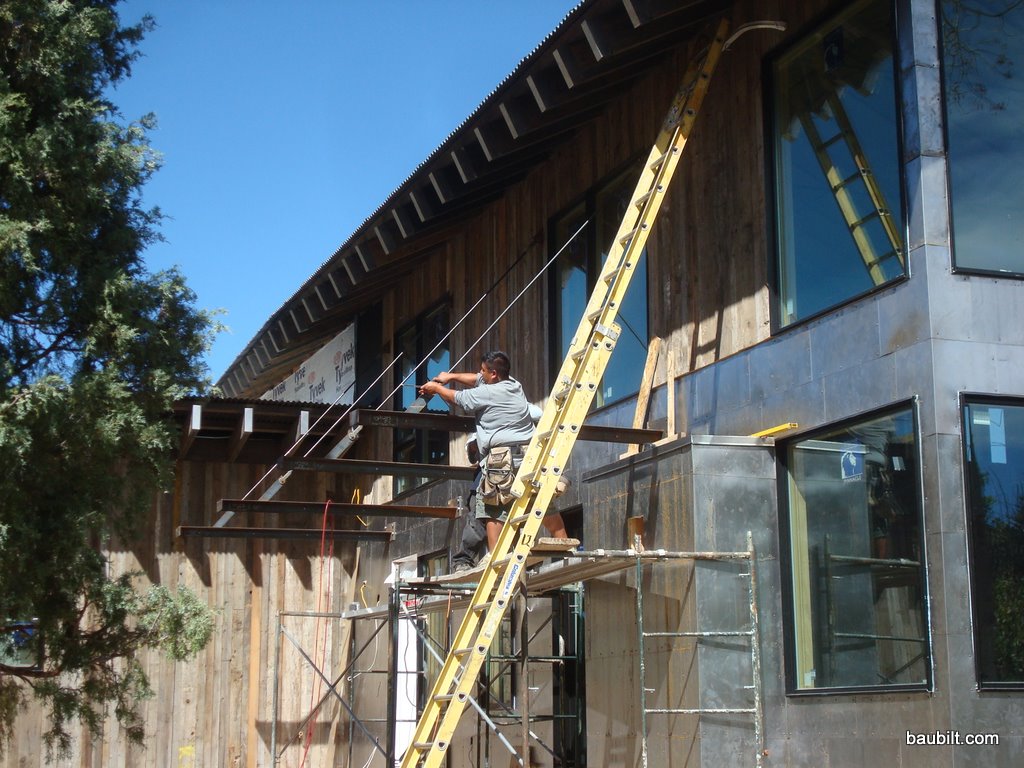
The house will have an 8-foot-deep nearly flat roof over the terrace. It’s kind of like a store-front awning. The architects designed it to be supported by four tie rods, which gives it a cool look, and avoids using any columns to support the edge of the roof. Of course the problem is that this structure has to be designed to handle all the snow from the roof above landing on it in an avalanche. So, it’s incredibly beefy and ties into big steel columns in the walls. This feature of the house probably cost about $10,000 more than a conventional “porch roof.” Still, I can’t imagine a better use of $10,000 in giving the house a distinctive quality.

The framer, Jose, and I had been staring at the big pile of steel, fasteners, and tie rods for a couple of months now. We finally tackled the project yesterday morning. It went pretty smoothly. My calculations came out perfectly on the rod lengths. (Thank you, Pythagoras). The only minor obstacle was that the engineers had specified very long bolts to go through the wall. However, independently, they had located a bunch of steel plates in those same spots which would impede the insertion of the bolts. So, in a couple of locations we substituted shorter lag screws where it would have been impossible to go through the steel plates in the walls.
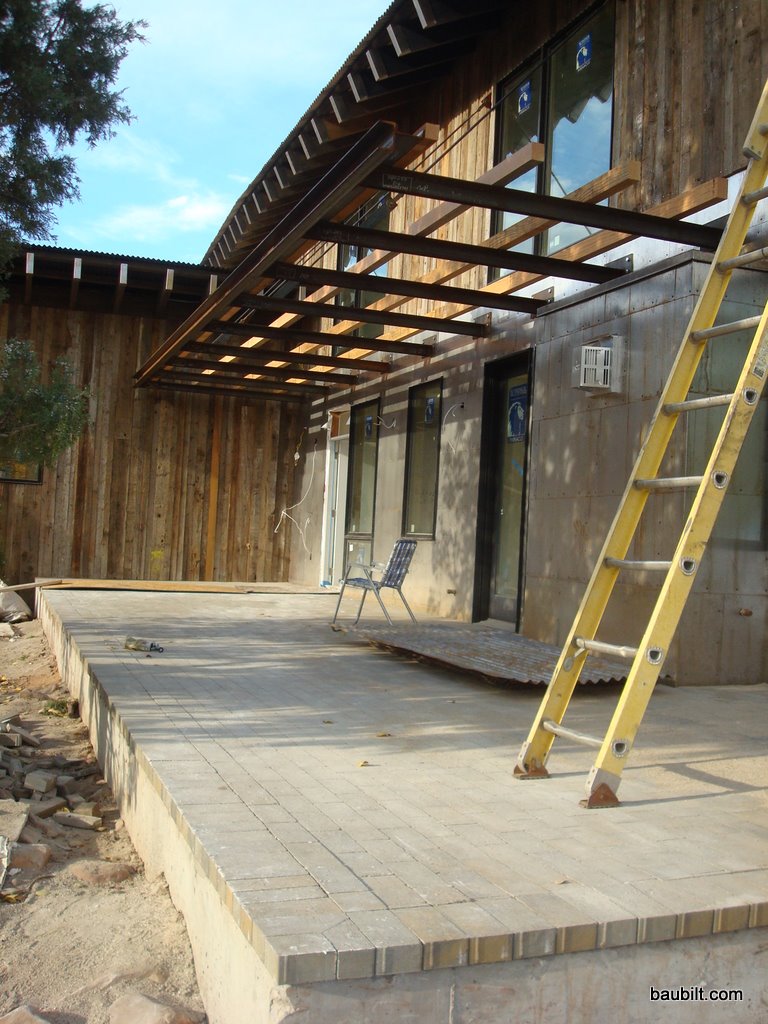
There will be chunky timber purlins that run horizontally and then the same corrugated steel panels as we use elsewhere will form the roof cover. More pix when it’s done.
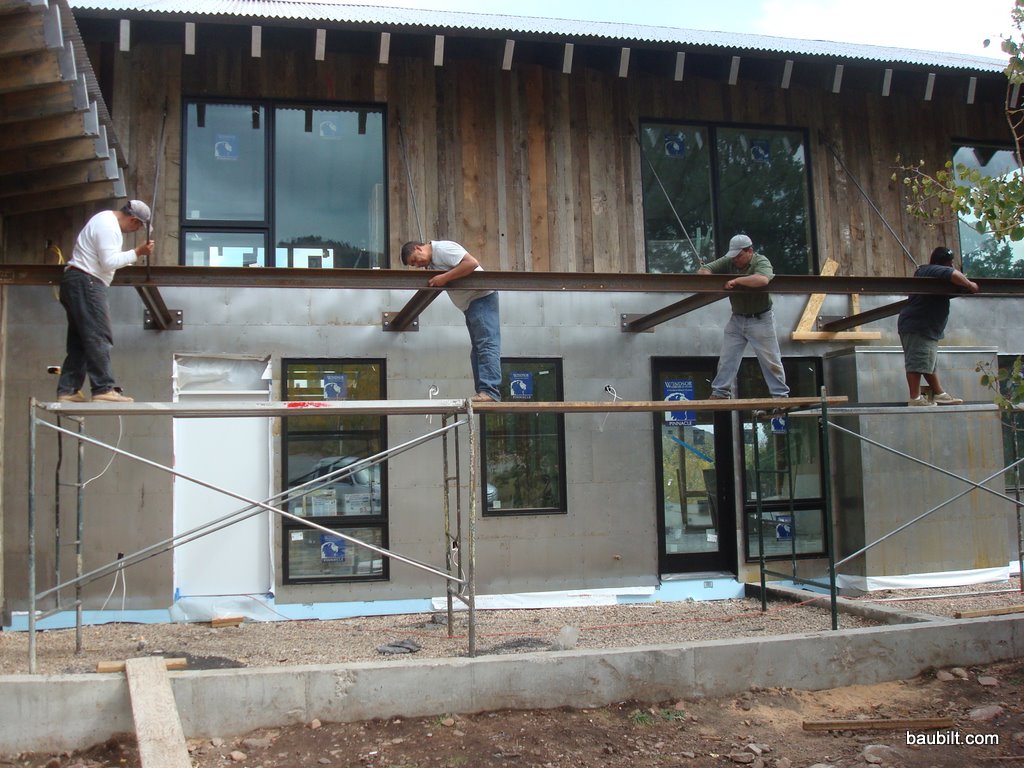
The next week Jose and his guys put up the 500 lb. c-channel which goes on the ends of these supports.


just an architecture student admiring the detail in this blog through every step of the process, we don’t often get vivid pictures and descriptions like this, wouldn’t hurt to just build a few before we design a few 🙂
trying to figure out how to do exposed rafter blocking on a cabin I’m designing in Idaho, what did you use for this house?
LikeLike
I’m not entirely sure what you mean by the blocking…but here’s how we did the exposed rafters.
The rafters are double 2x12s (select structural grade). They are capped with a cold-rolled steel box, cut and spot welded by the roof flashing shop (and quite cheap…a couple of dollars each). The caps were power nailed to the rafter tails in 2 places on each side.
The structural blocking between rafters was conventional 2×12 blocking WITH NO V CUT FOR VENTING. There is no venting because the roof system is a spray foam un-vented cathedral ceiling.
We then applied a cedar 2×12 block between each rafter on the outside for appearance. We pre-stained these and ripped the bottom edge of the block at the 26.5 degree angle of the bottom of the rafter tail. We cut the top of each barnwood siding board at the complementary 26.5 degree angle so that the top edge of the siding boards would fit in a nice straight line under the bottom edges of the rafter tails and blocking.
A 2×12 block will not quite cover the vertical distance from the top plate of the wall to the top of the rafter (that distance is 11.25″ / cos(26.5) = 12.6″). However, it is pretty much impossible to see that gap from below, so we just left it as is. It looks fine.
LikeLike