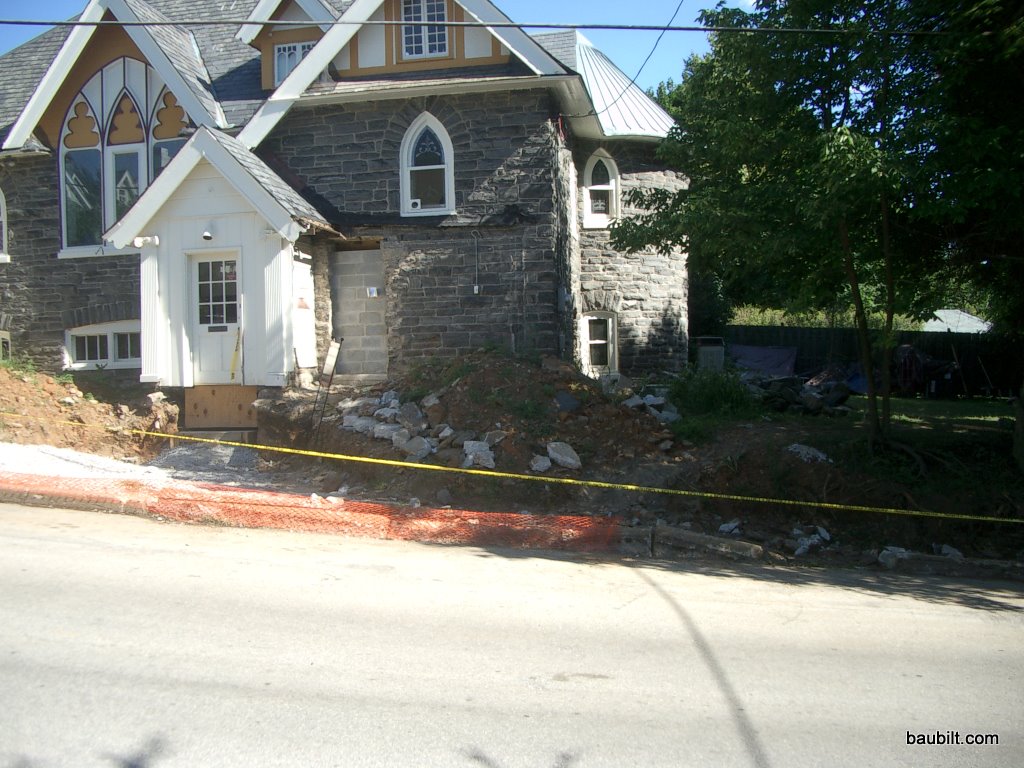
One of the big moves architecturally for this renovation was to excavate the side yard so that the entrance to the lower level could be at the level of the sidewalk. Originally, we had to climb a half dozen steps, traverse a few feet of walkway, and then step down a half dozen steps into the “basement.” It was actually my idea, which the architect liked, to excavate next to the house and make it a straight shot into the lower level from the sidewalk. That worked well; getting in and out of the house is a breeze.
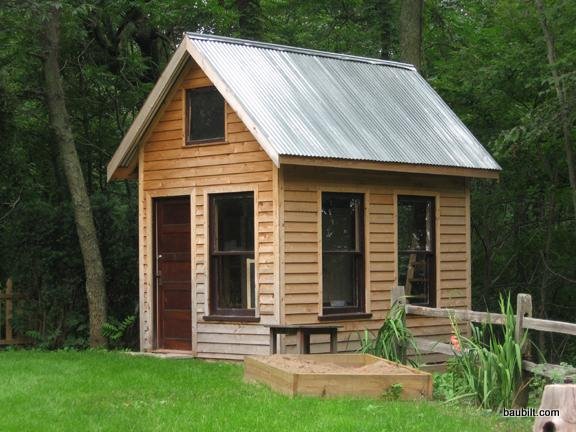
I might have one of the nicest sheds there is, certainly the nicest in my little town.
It was built for me by Gardensheds.com, a one-woman web-based business that contracts with an Amish carpentry outfit to build the sheds and another central-Pennsylvanian guy to deliver them.
Before I invested a lot of money in my lower level with all its new plumbing, I wanted to make sure that the waste line was reliably connected to the municipal sewer. I had replaced some of the sewer main the previous winter and was pretty sure that there was a lot more bad terracotta pipe between the house and the main sewer line. Sure enough, I had the plumber snake the video camera down the line and he declared that the terracotta was basically gone (100+ years old) and that my sewer line was really just a tunnel through the dirt.
Replacing a sewer main is not that big a deal normally. It involves a backhoe, two guys, two days, and a check for $10-15 thousand. You have to reseed your lawn too. Except nothing is normal about my house. Turns out that my sewer main runs 200+ feet down the block under my neighbors sidewalk to the sewer line on the next street down the hill. The plumber said that replacing it would be $20-25k for his part, plus $15k or so to replace the half block of sidewalk and curb that would have to be removed.
After the slab was poured, the guys framed the walls on the lower level. Like most framing, this happened in a snap, maybe two days for two guys. They lay out the walls with a chalk line and crayon on the slab and then frame up the walls.
The only slightly tricky thing was deciding how to insulate. The foundation is rubble stone and while pretty dry, it is prone to weeping once or twice a year. We did install a french drain on the perimeter, just in case, leading to a sump in the mechanical room. That’s been bone dry for five years now. We decided to leave a 1 inch gap between the rubble stone and the walls for ventilation and drainage. The guys did this by framing the walls with conventional 2x4s and then gluing 2″ rigid foam panels to the back of the wall (while still on the floor), taping the seams, and tilting the wall up. They glued the wall down to the slab, fastened the anchor bolts where they existed, and then nailed the top plate of the wall up against the floor joists above. These walls are non-bearing, but they are really solid and well insulated. I had the guys stuff the joist bays above the walls with fiberglass batts as well.
Those I-beams on the floor are for the double-i-beam system I described in the post on steel and stone.
Incidentally, as I write this post, I’m sitting at my desk right against that middle wall. The finished room is shown below.
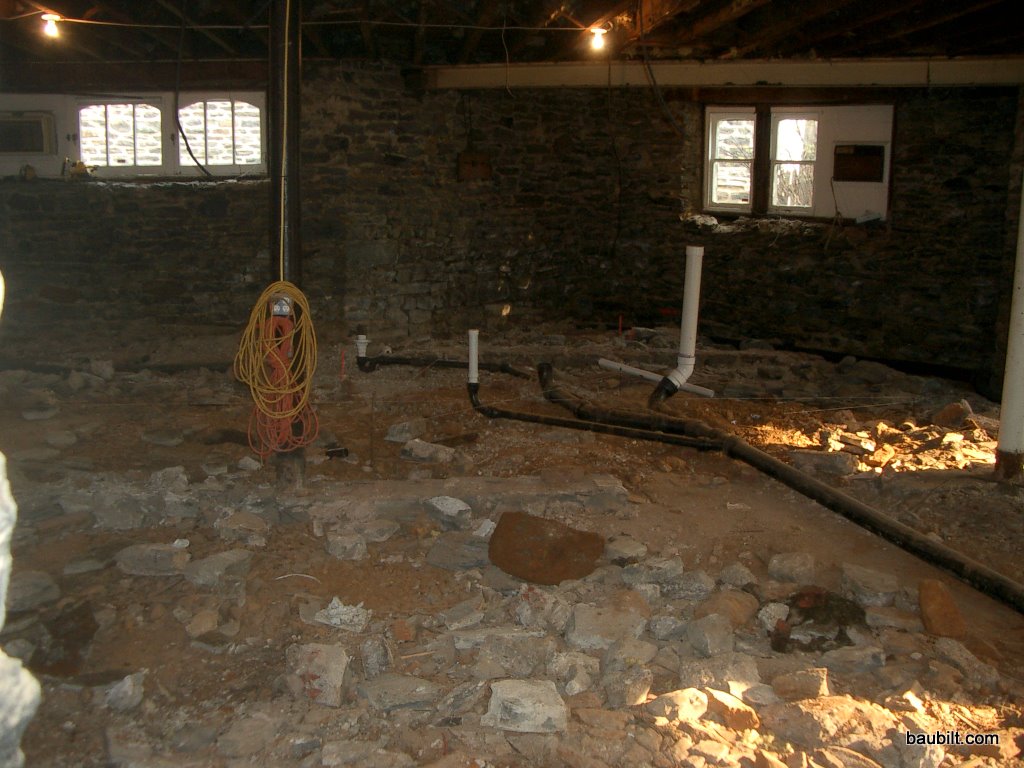
After the demo and getting the columns out of the way, we were ready to prep for the slab. Much of the prep involves the plumber, as he has to put in both the waste lines and the hydronic heating tubes before the slab is poured.
In my county, all waste lines below grade have to be cast iron pipe, which you can see here. I think PVC is probably bullet proof, but the cast iron is really bullet proof. I strongly expect to never have to worry about those waste lines in my lifetime.
My plumber, who is otherwise an outstanding guy, talked me into using a reflective, quilted insulating blanket below my slab. It costs about as much as 2″ rigid foam and it serves as an insulating layer and a vapor barrier. It’s a good vapor barrier. But, the reflective surface is irrelevant buried under concrete with no air space. Furthermore, it has an R-value of about 1.5. That’s better than nothing, but I regret not having used the rigid foam. The most important bit of insulation is at the edges of the slab, which I did do correctly with 2″ foam. But, if you do not insulate below the slab you end up heating the ground beneath the house to a depth of 10′ or so. Once that heating is done, you don’t lose much heat to the earth (as actually the earth gets warmer as you go down), but it does dramatically increase the thermal mass of the system. That means that the week or two at the beginning and end of the heating season can be a bit wacky as the slab and earth come back to equilibrium.
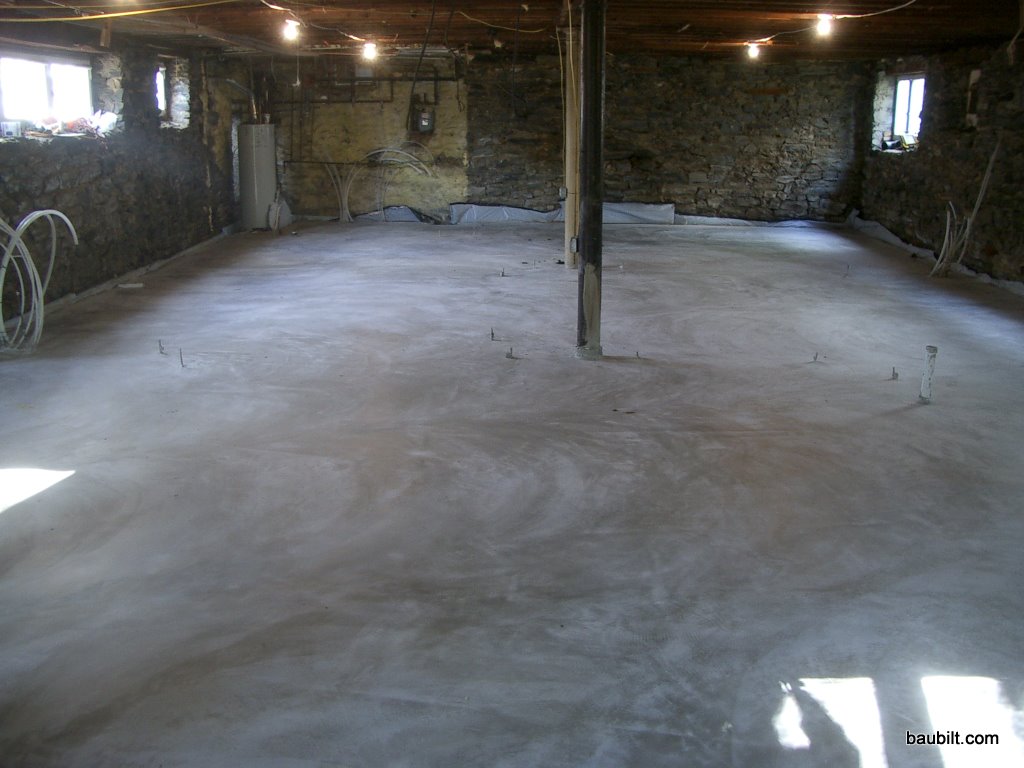
Once the slab is poured, the place felt much better. Before it was a dark, dank dungeon. After, it was a light, airy skate park.
Once you’ve mastered Baubilt Bread…or really any of the various Bittman recipe variants, pizza is a snap.
I modify the bread dough slightly, using an 80 percent hydration dough (e.g., 80 grams water for every 100 grams flour). I usually mix 700 g flour and 560 g water, which gives me two nice big pizzas. Otherwise, I prepare the dough exactly as for bread.
Even at 80 percent, this dough is still much wetter than most pizza dough, so you can’t really roll it or toss it to form a flat shell. Rather, I press it with my fingers and hands to stretch it to fit a rectangular non-stick baking sheet. I use olive oil on the tray and I spread some olive oil on the top of the dough to prevent sticking to my hands, too. Since I like lots of olive oil on the pizza anyway, this is win-win.
Once the dough is spread (and good luck getting it to really stretch perfectly into the corners of the pan…you’re going to unavoidably end up with some rebound) I bake for 10-15 minutes at 450F. Then, I remove it from the oven, and apply tomatoes and toppings.
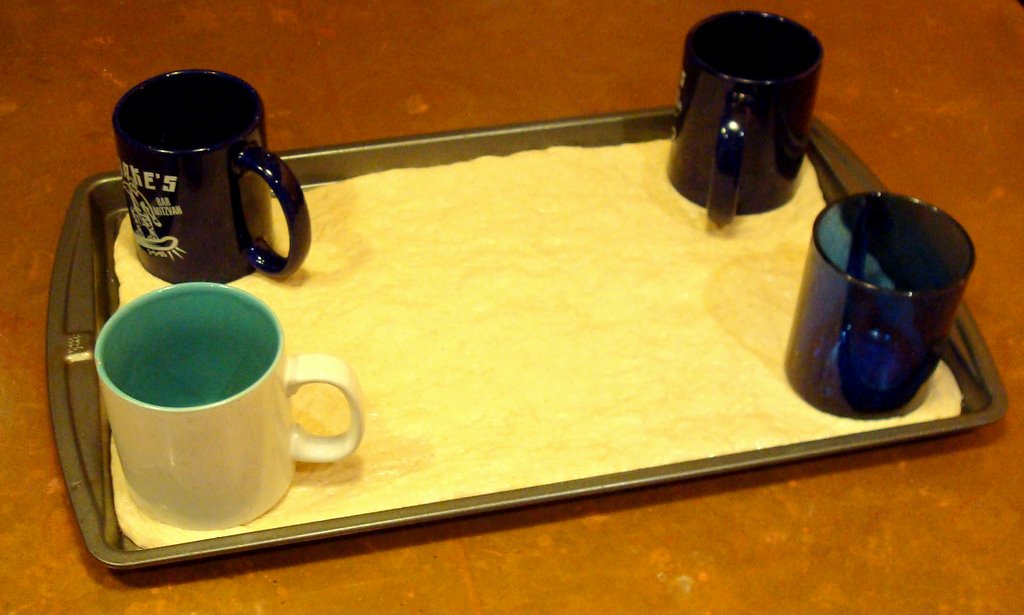
Update: I thought about how to avoid that pesky rebound of the dough in the pan. I tried putting mugs in each corner and baking this way for the first few minutes. Worked pretty well, but this may be a bit obsessive.
Update 2: Another method that is pretty effective is to apply some olive oil to a sheet of Saran wrap and then lay the wrap over the dough before pressing/stretching. This avoids the sticky hands problem and works quite well. You can apply and re-apply the wrap to different sections of the dough until you’re happy with the stretch.
For sauce, I simmer canned crushed tomatoes (Pomi, Furmano’s, Muir Glen, Tutto Rosso…any brand you like) with basil and garlic to remove some of the water (thus preventing soggy pizza). Of course, you can put whatever you want on a pizza. I like broccoli, onions, oil-cured olives, and fresh mozzarella.
Update: my method has now evolved to THREE baking steps…first, bake the dough until it is nearly done (10-15 minutes), then spread lots of tomato sauce and bake for another 5-10 minutes (this dehydrates the sauce somewhat, increasing its intensity and further minimizing the risk of soggy crust), and finally add toppings/cheese and bake until everything is nice and melted.
The dough should be chewy, crusty, and full of air pockets. Yum squared.
Zoning and building permits are both good ideas. They keep Vermont pretty so New Yorkers can enjoy it. They also help ensure public health and safety. Worthy objectives.
The problem is that most zoning codes can’t distinguish a nice little cabin for relaxing in the woods from a vinyl-sided shack inhabited by a band of misfits running a meth lab. But while the literal interpretation of codes can sometimes prevent you from doing nice things, it can also allow you to do what you want if you play by those literal rules. My solution was to read the zoning code very carefully and to find a building classification that literally matched what I was building. My local code defines an “accessory building” in a way that includes my little cabin, specifically “a shed that lacks utilities.” (Note that some building codes do not allow accessory buildings to be constructed on sites that do not include a residence. However, my code does.) So, I applied for a building permit for a “10′ x 16′ shed” and that permit was issued without any problems. (Never just ignore the permit issue. Your municipality can issue whopping fines…usually several hundred dollars per day…and you could potentially have a problem selling your property.)