Author Archives: Karl T. Ulrich

Unknown's avatar

About Karl T. Ulrich

CIBC Endowed Professor - The Wharton School. I teach, research, and practice innovation, entrepreneurship, and design.

Energy Efficient House Design

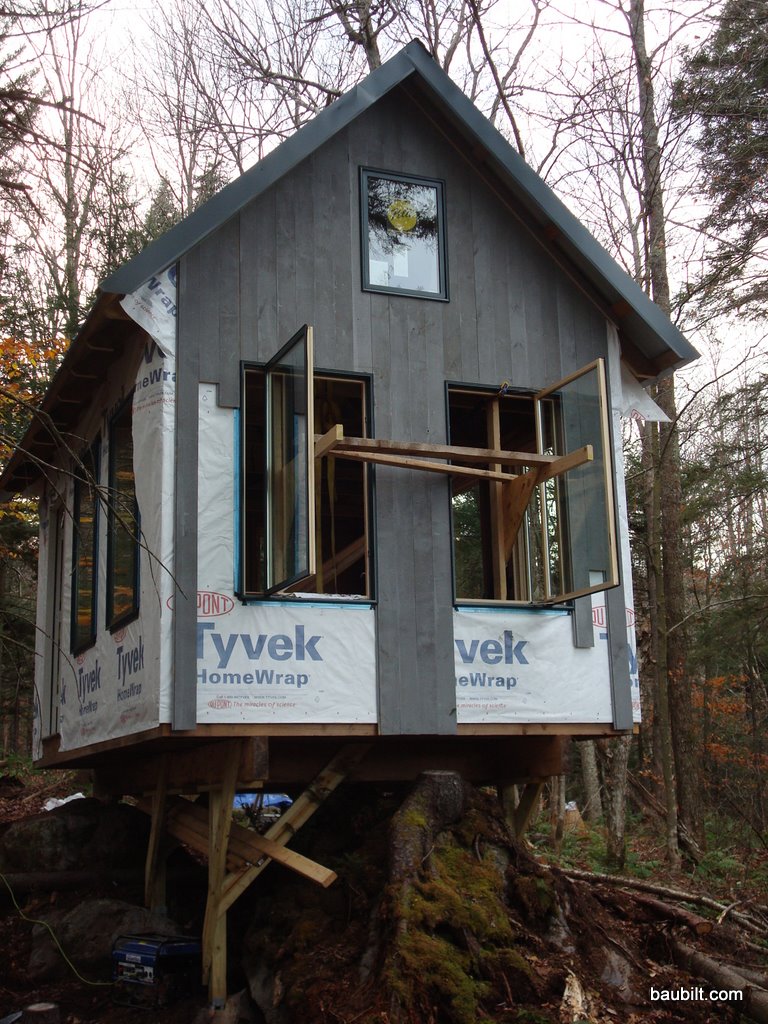
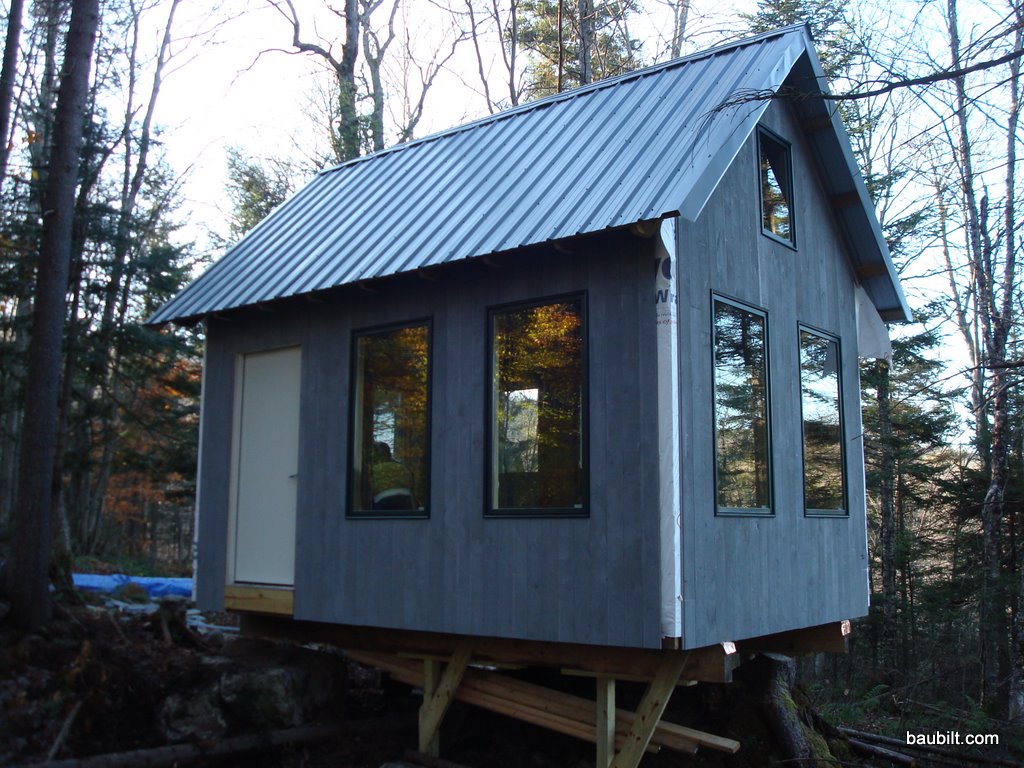
In this post I explain the analysis I did to understand energy efficiency design issues in my new house.

There are two basic contributors to the energy efficiency of a new house:

1. basic form, and
2. energy efficiency features.

By basic form, I mean what shape does the house have, how many stories is it, and how much window area is there. Those factors matter quite a lot. The most thermally efficient shape (ignoring solar factors) has very little surface area relative to its volume, basically a cube (if you assume the surfaces will be flat not curved). In the analysis I did, I assumed for a base case, a 3200 sq-ft 2-story house, with 8′ ceilings, on a 40′ x 40′ footprint. That’s a pretty boxy shape, but quite efficient thermally.

Windows are wonderful, except that they have just terrible thermal performance, even the really fancy ones. So, you basically have to decide how much glass you want and trade that off against how much energy you are willing to lose. About 12.5% of the wall area on an average new home in the U.S. is windows. I assumed that value in my base case.

OK, that boxy house with average windows in it will lose about 23,000 btu/hr keeping the inside at 70F on a 30F day, a typical heating day in climate zone 6, where I’m building my house. Note that this is not the maximum required heating capacity, which would actually be about 40,000 btu/hr for the -7F design temperature used to size boilers in zone 6. If you assume 200 days a year of 30F weather you get 8000 heating-degree-days, which is pretty close to the actual value for my location.

Continue reading

Optimal Insulation Strategy

My Park City Modern site is at 7000 ft. altitude,  is in climate zone 6, experiences 8196 heating-degree-days, and receives 340 inches of snow per year on average. Dealing with weather is a huge issue in designing for this site.

I will use natural gas as an energy source and wanted to minimize the use of that resource. As a result, I worked to build an energy efficient house that takes advantage of the winter sun. I also skipped the heated driveway, to my neighbors’ dismay.

My insulation plan is as follows:

Roof System

22 gauge cold-rolled corrugated roofing on

roofing felt with ice shield on the lowest 6′ of the roof on

ventilated nail base on

OSB decking on

Double 2×12 rafters 24 inches on center

Wall System

Foundation System

Flash and batt roof

Flash and batt walls

2″ XPS foam on outside of foundation walls

Fiberglass batts on interior of foundation walls
Some Comments

In order of priority, if you want to minimize heat loss, here is what you do:

Minimize windows

Minimize air infiltration

Minimize surface area

Maximize R-value

Minimize bridging through wood and steel structure

Most important insulation

Perimeter of concrete slab

Roof

Maximize winter solar gain

Condensation and Dew Point

McMaster-Carr

Everyone in the engineering world knows McMaster-Carr, but few people in the DIY world do. McMaster is a privately held company based in Illinois that may be the world’s largest engineering superstore. They have hundreds of thousands of items and in twenty plus years of using them I don’t think I’ve ever experienced a stock out. Remarkable.

They have everything. What do I mean by “everything”? Well, you can buy stainless steel spring wire, storage bins, a work bench, a belt sander, fasteners, and (literally) a kitchen sink.

You wouldn’t want to use McMaster for something you can get at Home Depot, even though they have almost everything Home Depot does, but they fit the bill when you need something a little bit out of the ordinary or you want to use an industrial/commercial product in your personal project.

Here are some nice items I’ve used them for in my projects:

  • Copper sheet.
  • John Boos “butcherblock” countertops (under “Maple tops”) at $16/sq-ft
  • Richlite lab bench material (the predecessor to the oh-so-trendy Paperstone…called “phenolic tops” at McMaster) at $26/sq-ft
  • Heavy-duty urethane casters to support a huge rolling shelving unit.
  • Acme threaded rod for shelf supports.
  • Any manner of weird drill bit or fastener.
  • “Speedrail” tubing fittings for railings, etc.

They take credit cards. They ship the same day by UPS.

My workbenches shown here (on the left) have McMaster tops (both butcher block and Richlite).

eMachineshop

I described the Ponoko laser cutting service and the Misumi semi-custom parts service. As nice as those are, sometimes you just need to make something out of a chunk of aluminum with a good old fashioned machine tool. Of course you can try to remember how to do that yourself, or find a really handy friend who can do it for you. Most of the time, I use emachineshop.com.

Here are some parts I made using the eMachineshop service.


Here are the eMachineshop parts combined with the Ponoko parts and the Misumi parts to make the completed assembly.

Continue reading

Misumi Made-To-Order Metal Parts

Occasionally my expertise as an engineer carries over into the Baubilt world. Here is one such case. If you need to make fussy little shafts or brackets for some DIY project like a light fixture or a toilet paper holder, consider using the Misumi service. Misumi is a Japanese company that has a huge collection of semi-custom parts (hundreds of categories really) that are made to order using your uniquely specified parameters. For example, let’s say you need a stainless-steel rod 8mm in diameter and 96mm long for some perfect door pull you are designing. You can order that part from Misumi and it will be made to order on a computer-controlled machine tool (in Japan) and shipped directly to you…for remarkably short money.

Here are some parts I had made for use with the Ponoko parts described elsewhere. I think I had 10 sets made, and have already used 7 of the sets by now. My recollection is that these parts were $5-15 each, which is a screaming deal for a custom machined part. The trick of course is that these aren’t really custom; they are semi-custom parts that are made to order with your pre-specified dimensions.

Here is a Misumi page showing a “shaft support”…could be a towel rod support, no?

The Morso 1410 Woodstove

I had experimented with propane space heaters and concluded that I needed somewhere between 10,000 and 30,000 btu/hr of power to keep the Mini Cabin warm in the dead of winter, when temperatures drop below 0 F. (Specifically, I found I could maintain 30F temperature difference between inside and outside at 10,000 BTU/hour. BTW, for the non-US reader, 10,000 btu/hr is about 3 kw.) I also reasoned that I could always open an upper window if things got too toasty. Still, 30,000 BTU/hr is a very small wood stove. So, I went looking for the smallest nice woodstove on the market. I chose the Morso 1410.

Continue reading

Metal Roof

The mini cabin is topped with Fabral painted steel roofing panels. The lumber yard can order this type of roofing in custom colors (Hartford Green in my case). This is a robust, proven roofing solution, and is not very expensive. I’m quite happy with this choice.

My father and I ran purlins (rough-sawn 2x4s perpendicular to the rafters) at the eave, at the ridge, aligned with the side walls, and then spaced evenly (at about 22 inches on centers) from the ridge down. We then screwed the roofing down with 2-1/2 inch galvanized roofing screws with heads painted green to match the roofing. (Fabral sells these with the roofing.) We used a conventional drill/driver with a 1/4 inch hex drive to put these in. Next time I’ll use an impact driver. A few hundred screws are required even for a small roof like mine, and many are driven at odd angles. Your wrists will thank you if you use the impact driver. The link here is to the DeWalt unit I own, mostly because I’ve standardized on the 18V lithium battery pack for my tools and chargers.

Continue reading

Siding

I grew up in a house with gray vertical ship-lap pine siding. Maybe that’s why I chose that siding option for the shed. The siding is often called “rough-sawn pine” but it is actually planed smooth and then wire brushed to make it “uniformly rough” on one side. I pre-stained it on both sides with Behr premium siding stain. By “I” I suppose I mean that my father and mother and two kids stained the siding. This was definitely a task that benefited from a bunch of extra hands. They laid down some plastic sheet on the road and went to town. I remember we were listening to NPR while doing this. This was the morning John McCain announced Sarah Palin for Veep–thus the look on my mother’s face.

This siding is very easy to install. Just cut to length and cut any joints on a 45 degree miter. I ordered the siding from the local saw mill in 10′ lengths, which was longer than almost any vertical dimension on the building. I used 1-1/4″ ring-shanked stainless nails, which held the siding very well but did not protrude through the sheathing to the inside. (I know the nails are long enough because when I had to pry off a piece of siding to correct an error, the nails pulled through the siding…they hold very well in the plywood.) The only slightly tricky thing is getting the siding to come out evenly between windows. I tried to be clever and space the windows exactly an integral number of siding widths apart so that the siding would line up cleanly between windows. Those windows are really hard to locate perfectly, though…so I ended up ripping off 1/16″ from the width of every length of siding that would be installed between windows. (Note how there are exactly four boards between the gable-end windows.) The even layout looks pretty sharp, in my humble opinion, but my perfect plan did require some ad hoc fussing.

One other trick. Don’t try to get the siding to come out even on the bottom edge. Just let it hang a few inches long. Then, when you’re done with the job, snap a chalk line around the skirt and trim with the circular saw. That’s a very satisfying last step, and results in a sharp, clean edge.

Photo Sketching a House Design

In order to give one of the design review committees a better sense of what the house would look like on the site, I made a quick sketch in Adobe Photoshop and Illustrator.

Here it is. (As with most photos on Baubilt, click to see a larger version.)

To do this, you need some facility in a photo editing tool and an illustration tool. Here’s what I did. First, I found a photo of the site that was oriented such that the front elevation of the house would be in the plane of the image. I then pasted the photo into Illustrator. As a separate layer, I pasted into Illustrator a line drawing of the front elevation from the architects. I then drew rectangles for the windows and filled them in with a color picked from windows in a photo of a neighboring house. I inserted boards for siding (rectangles filled with colors picked from siding photos). I drew the roof in and filled it with colors picked from neighboring rusted metal roofs. Then, I copied the trees and car from the photo in Photoshop and pasted them in front of the house. Finally, I drew in a driveway freehand in Illustrator. I pasted some rocks and trees in for landscaping. All of this took about 2-3 hours. I’m fairly good with these tools, but I was not fussy about the sketch. I’m pretty happy with the resulting image, which has been useful in communicating how the house is likely to look on the site.