In stark contrast to the materials I used in the Vermont Mini-Cabin, much of the structure of the Park City Modern house is engineered lumber. The entire floor system is framed from “I-Joists,” or “TJIs” as they are called informally. (The I-Joist was pioneered by the brand TrusJoist Inc., thus the acronym TJI, I think.) The brand is now called iLevel, and is a division of Weyerhauser. Other companies make similar product. The main floor system with the TJIs in place is shown in this photo.
Framing is a blast, because framers are fast and progress is obvious. My framer is Jose Magana (Magana Construction), who has framed a couple of houses for my “general coordinator” Steve Kotsenburg (more on that arrangement in another post).
Jose is a hands-on guy and works alongside his crew, which is one of the reasons I chose him. I like being able to deal directly with the person doing the work. The first day, they got the walls laid out and quite a bit of the perimeter put up. Framing will get fussy and slow when they have to put the steel columns and beams in upstairs next week, and when they get to the roof system, which is really tricky. But, for now, the structure is going up fast and furious.
The flatwork guy (Gough Concrete) poured the lower-level slab on Thursday and saw-cut the control joints on Friday. I stopped by on Saturday to take a look. We used a 2% mix of Solomon liquid color, which they call “smoke.” It’s just right. The tint is significantly darker than natural concrete, but still comes across as gray, not black. This color in this concentration costs $39 per cubic yard of concrete. Given that the mud itself only costs $110 per yard, that’s pretty significant. However, given that for this I get a finished floor, I consider the tinted concrete a bargain. This floor cost $5.40 per square foot for everything (#4 rebar, pump truck, concrete, tinting, placing the concrete, finishing the concrete, coating with an acrylic sealer, and saw cuts). This did not include the 15 mil vapor barrier and the under-slab insulation, which my plumbing and heating guy did.
The slab ended up being 6 inches thick instead of 5 inches (meaning the gravel was a bit low), which cost an extra $270 for another 2.5 yards of concrete. The control joints are basically on the same grid as the rooms, stairwell, and passageways, although I split the larger rooms in half so that the joints are not more than about 10 feet apart. (Control joints are created by sawing a 3/4 inch deep groove in the concrete. This gives some visual definition to the space and encourages the concrete to crack on the lines instead of diagonally across the room. (That sort of works…but avoiding cracks altogether is a fool’s errand.)
This week we got the foundation installed, the damp-proofing and insulation in place, the footing drains installed, and the sub-slab rough plumbing placed. We’re now ready for the lower-level slab to be poured (with the hydronic tubing for heat installed within the slab).
Here are the photos of the foundation and related steps.
Footings are the roughly one-foot thick slabs of concrete on which the foundation walls of the house rest. They are designed to be large enough to distribute the weight of the house onto the excavated soil surface such that the soil does not collapse from the load. As a practical matter they tend to be 20-72 inches wide depending on what part of the house they support. They usually need to be 24-48 inches below the ground surface (depending on region) to be below the frost line.
Placing the footings is a pretty remarkable thing to watch. A crew of 8 (Stone Construction) arrived at 7am and they left around 6pm. With another two hours of work the next morning to strip the forms and pack up, I had completed footings.
This not a fussy construction task. They take a trailer full of lumber and hammer it together in the rough shape they’re after. They pump the forms full of concrete, and then trowel the top surface to a snapped line, which defines the top surface of the footing. The foundation walls are then built on top of these troweled surfaces. The photos tell the story.
I made a trip to the site to watch the excavator break ground. This was April 28. The site was staked and ready to go. Here is the site on the eve of ground breaking.
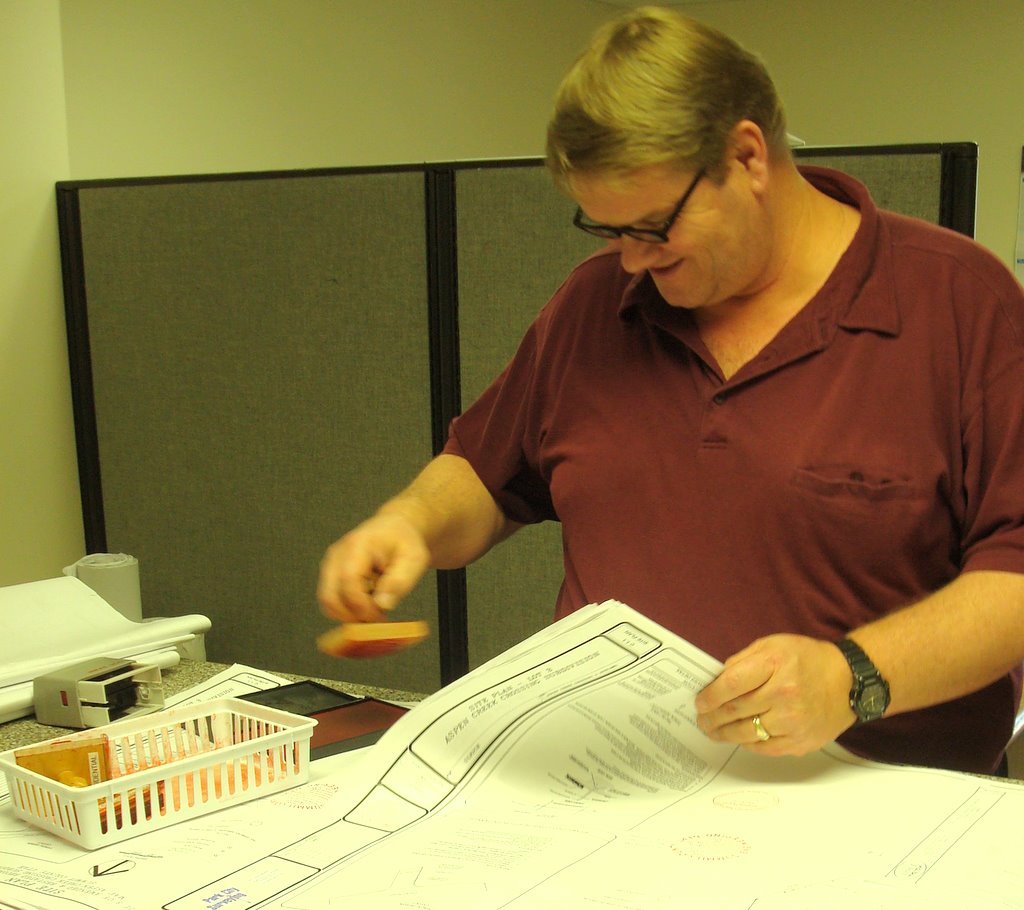
Getting a building permit for a new house is a project in and of itself. We filed for a permit on February 23. Today (April 20) we got the permit. That’s basically two months. The most significant technical milestone is getting the approval of the plans inspector (shown here stamping the plans).
My strategy with bid negotiation was to only solicit bids from subcontractors who were highly recommended by trusted sources. That way, I could hopefully focus on price without worrying I was getting bids from guys who do shoddy work. In most cases, I adhered to this strategy, although occasionally I got a bid from someone brought in by a related subcontractor (e.g., a heating guy who got a bid from a plumber friend).
In most cases I got at least three bids. I plotted the results of this bid process for the major subcontractors involved in the first phase of my project. These are the costs to do the work, including materials (except for framing, which is labor only). My house is about 3,700 sq-ft of living space with a 600 sq-ft garage. The flatwork quote includes all the concrete floors in the house, a concrete driveway, tinting the concrete, and applying acrylic sealer.
The results reveal why it is imperative that you get multiple bids. The difference between the total cost of this phase of work taking all the low bids and taking all the high bids is about $110,000, or more than half of what I’ll pay for this phase. That is, there can be a 50% difference in the total cost of the house depending on who you contract with. Again, in most cases, all of these subs are considered high-end guys and come highly recommended. The exception is the low bidder on excavating, on whom I had no information. I did not find the bid credible, which is why I didn’t take that bid. In some cases, I wanted to work with someone who was not the low bidder, but I negotiated with them to do the work for the low bid. In a few cases, I negotiated a price that was not as low as the low bid. This was the case for the electrical work. I honestly think the low bidder made an error in his bid. I just don’t see how he could do the electrical work for this house for $10,000 (which would end up being something like $25/box…a crazy number). I gave the low bid to another electrician and he worked his bid down to the point where he said he just couldn’t go any lower, and I left it at that. (It still seemed a very aggressive price to me, and so I was happy with the outcome.) In the case of the flatwork, I got only one bid. The flatwork guy was highly recommended and the flatwork is tricky on this house. The bid came in right at about what the RS Means guide said it should, so I didn’t get any further bids.
I just spent a week in Park City negotiation bids on the Mountain Modern house. I’m building the house with the help of Steve, the broker who sold me the land. Steve lives a couple of miles from the site and has built a series of homes in Park City and elsewhere, so has a lot of local expertise. So, while technically this is an “owner build,” I’ve hired a “consultant” to arrange the subcontractors and to keep me informed about construction on a daily basis.
New home construction in Summit County is very slow right now. Just two building permits have been issued in the first 2.5 months of the year. As a result, almost no one in the building trades has any work right now.
Our strategy has been to select 3-5 subcontractors for each task based on the quality of their work, and then to make a final selection based on price. We have let these subcontractors know this is how we are proceeding.
The architect Christopher Alexander wrote “totalitarian, machine buildings do not require trim because they are precise enough to do without. But they buy their precision at a dreadful price: by killing the possibility of freedom in the building plan.” (Incidentally, Alexander’s Pattern Language is a fascinating book on design. This link is to his “Pattern 240” on “half-inch trim.”) While I don’t see trim in ideological terms, the stuff is a vexing challenge in modern residential design.
For concreteness, let’s consider trim to be the aesthetic feature at the boundary between windows and walls. In the most common instance, trim is wood surrounding doors and windows and laid flat against the drywall. Of course many other situations are possible (e.g., brick, tile, metal, etc.).